We are going through a different approach. This is for the sake of presenting to you two different types of approach of which neither is incorrect. It actually depends on which of these two approaches you think suits you the best. But if you are just beginning to develop your hand skills, you must consider the traditional one because students will less likely do mistakes on that approach.
Step by Step
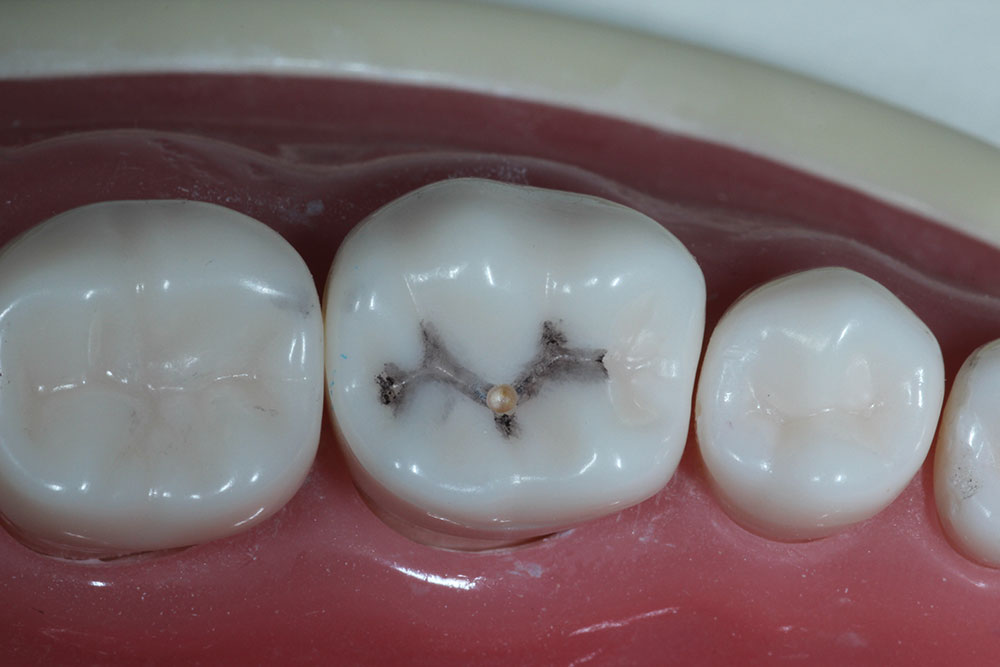
- First visualize. Then if you need to have a clearer image on the tooth, draw along the major grooves.
[insert video here]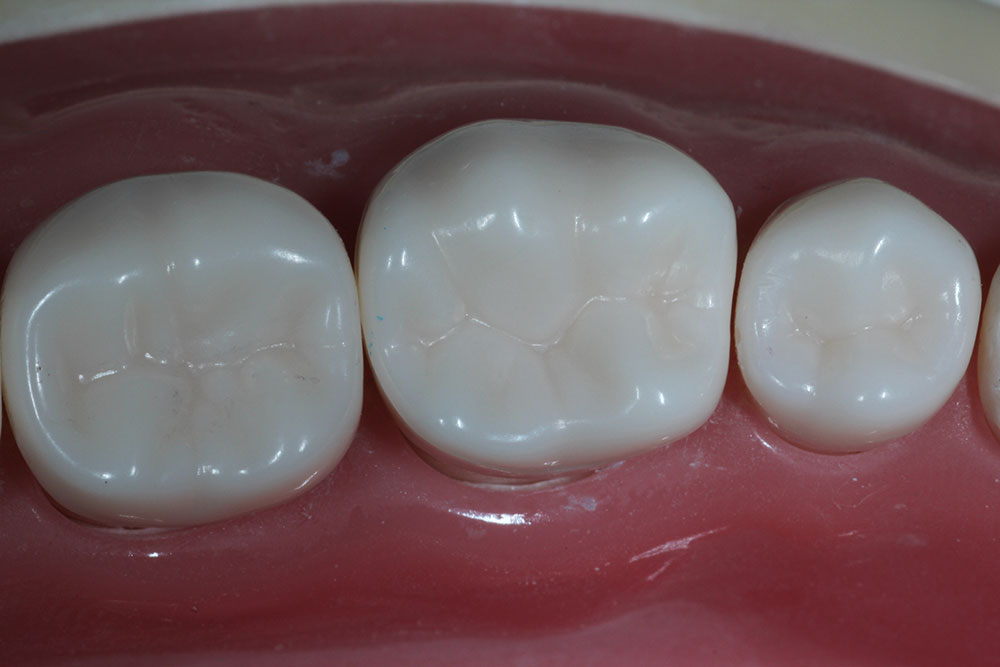
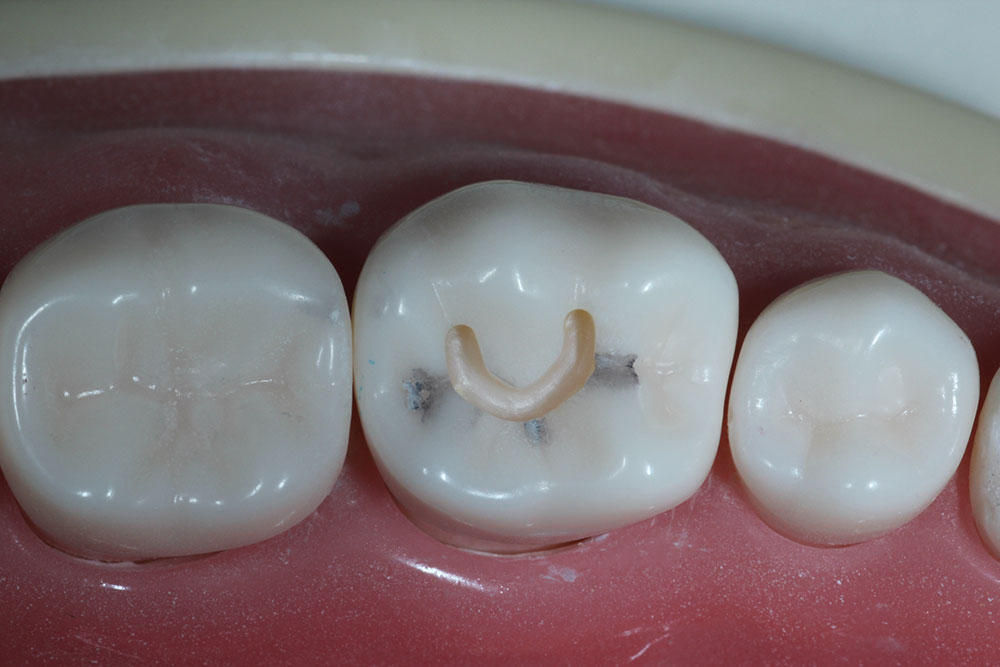
- Punch cut. About 0.2-0.25 mm short of the #330 bur (1.35-1.4mm)
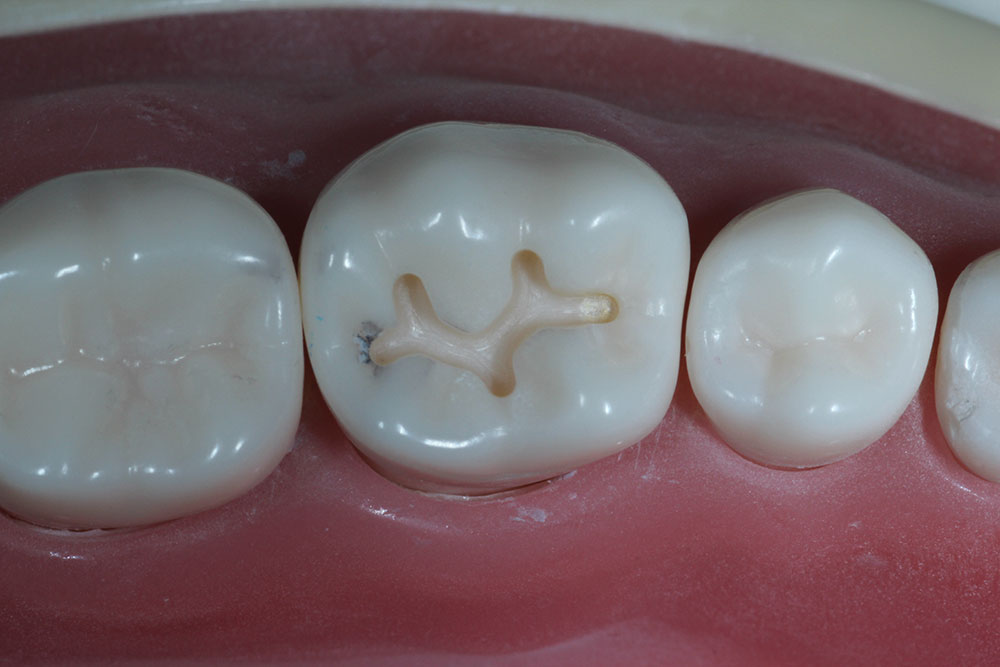
- Curve around the DB cusp. Make a nice symmetrical U shape around the DB cusp. This is the most critical step because the shape of this U has a big impact on the look of the whole preparation.[insert video here]
- Extend mesially with nice a nice curve.
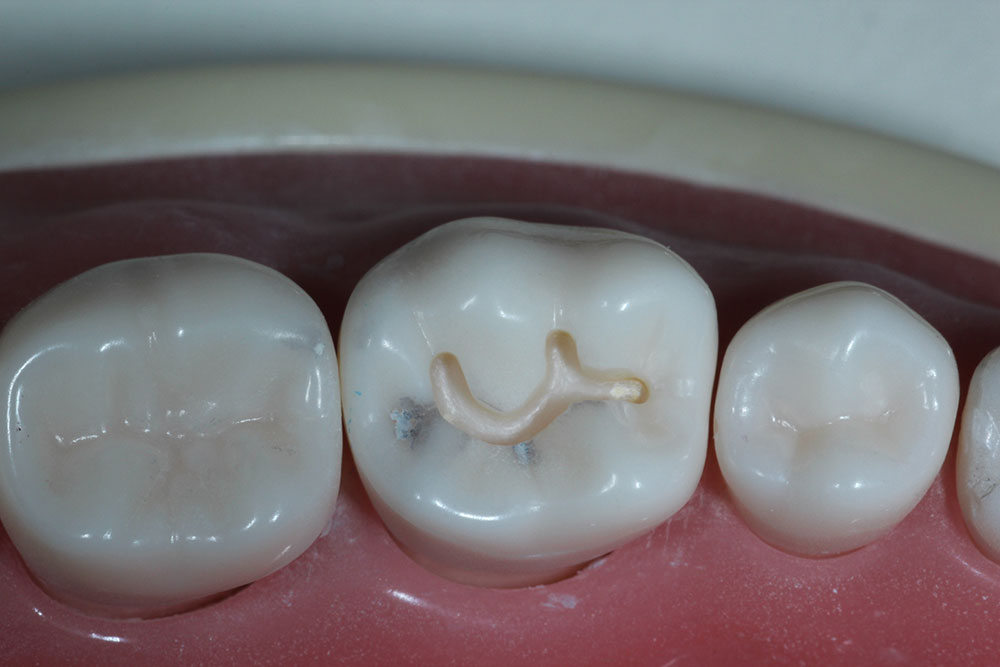
- Then extend the preparation to the distal and lingual half.[insert video here]
- Check & adjust the width, smoothen the pulpal floor with the use of a #56 bur.
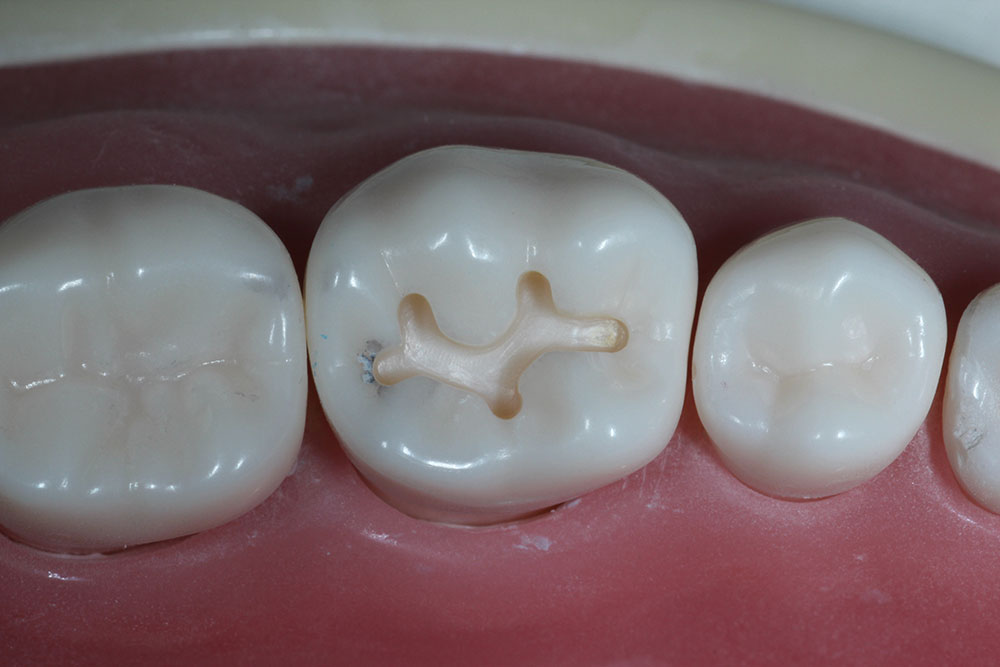
The bur #56 has a diameter of about 0.9mm, so as you go along smoothing the pulpal floor, you will also at least establish a 1mm width of convenience form along the preparation. If the bur binds, make sure that you prepare this one until the bur can go through smoothly. - The dovetail. Don’t forget to tilt your bur distally.
Checking
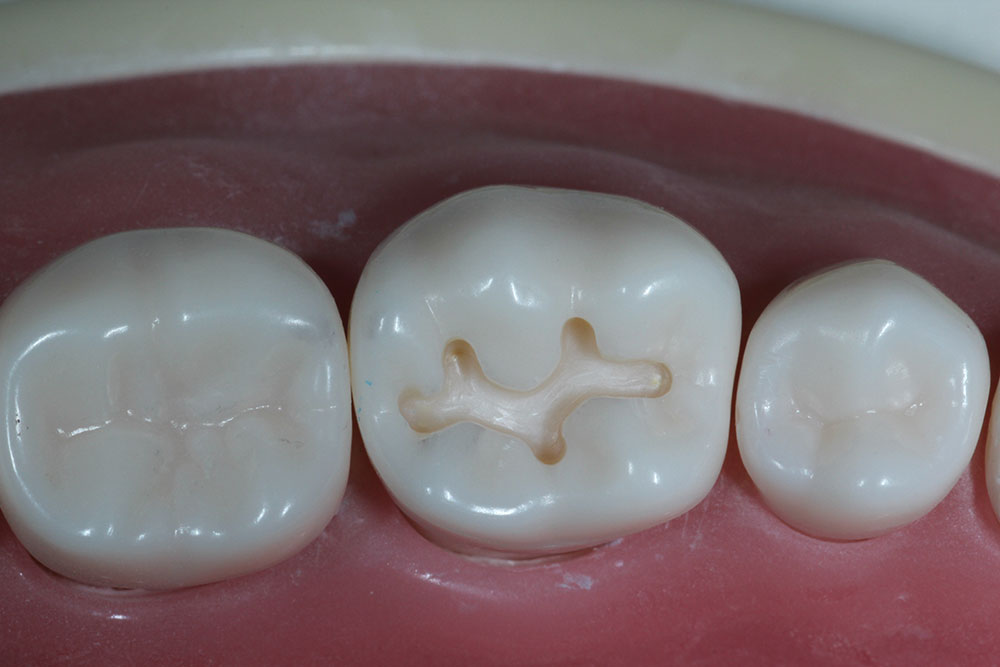
At this point, you are already done with the preparation of the occlusal aspect of class II preparation. Now check everything that you have already made. Then if everything is very smooth and the dimensions are in perfect shape, proceed to visualizing your future proximal box.
[insert video here]
Note the well-defined internal line-angles. When running your explorer from any axial wall to the pulpal floor, if you feel a step bring your bur back and define it.