After making the general outline of the proximal box, use your hand instruments to refine the walls and the floors. Using burs to refine the walls will only give you a risk of getting it bigger. Only use burs if you want to round sharp edges or smooth a surface but you need to apply light pressures on the tooth with light steps on the pedal.
Step by Step
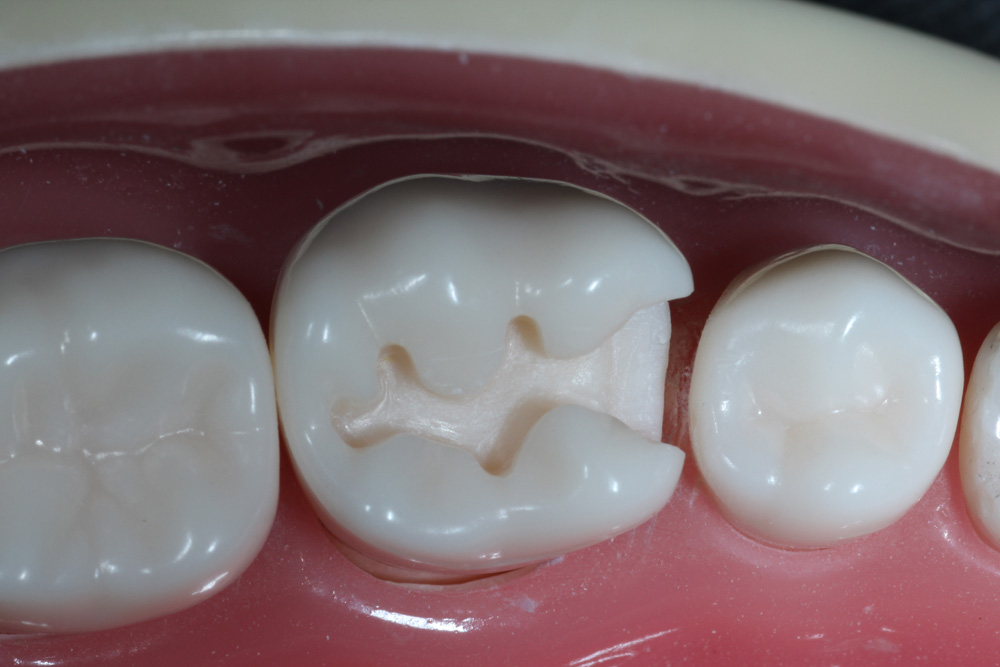
- If you have a shell of tooth remaining on the mesial of the box, use a hatchet to remove it.
[insert video here]
This is what it looked like after removing it with downward motion from the buccal and lingual.When doing this, make sure to keep your hatchet along the line you want your exit angle to be, you do run the risk of widening the exit angle if applied incorrectly.
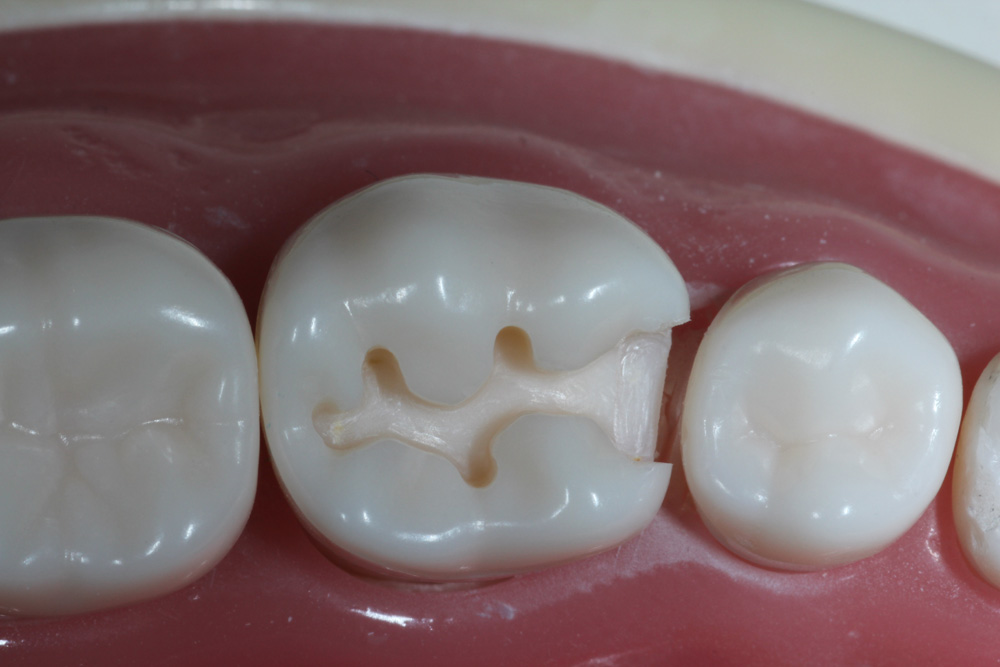
- Refine!
[insert video here]

Smoothen out any rough or uneven walls. I noticed my gingival floor needs to be widened, and did so with a hatchet.Also plane the buccal and lingual proximal wall. I like using a hatchet, but a 169L is also commonly used. Just be careful of the adjacent tooth!
- Bevel!
[insert video here]
With your MT 29, get to the axiopulpal line angle and gingival floor.A retention groove is totally unnecessary but there is one school (UoP) who will ask you to place a retention groove on the buccoaxiogingival and linguoaxiogingival point angle. You will use a gingival margin trimmer to CARVE this out with its deeper portion at the gingival area and fades out occlusally. If you are applying for UoP, make sure to let us know on the description whenever you submit your work to us. If you want more info regarding this, please take a look at the “Preparing for UoP” at the Introductions to Cavity Preparations section.
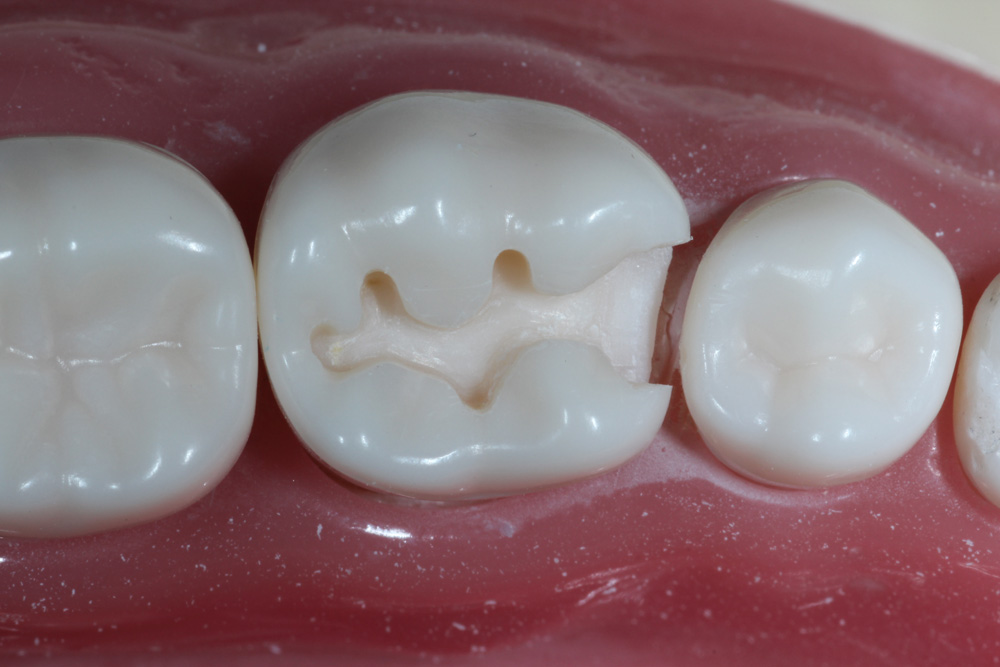
- Finish-upWith a hand instrument of your choice, run through all the external line angles to make sure there’s no unsupported enamel anywhere. Makes it look polished.
[insert video here]