Doing a crown preparation on upper central incisors are challenging. The ideal we’re trying to achieve needs to be understood thoroughly to make the preparation beautiful and right. If there’s a gap somewhere in the knowledge, it will easily show on the preparation.
Basically the principles that you have learned on doing preparations of Metal Ceramic Crowns on a molar tooth also applies on the incisors but with modifications because of their anatomical differences. The should margin on the labial surface has a 1.0-1.2mm reduction, the chamfer on the lingual surface has a 0.7mm reduction, and the incisal reduction has to be 2.0mm. For now, these dimensions are will be your ideal measurements to follow for your practice unless your program asks you otherwise.
Comparing with the metal ceramic crown on a molar tooth preparation, the principles regarding margin preparations and proximal reductions are all the same except for the labial and lingual reductions because of anatomical differences, in which you will learn how through the explainer videos below:
Pre-operative Pictures
I’ll be demonstrating with a Columbia typodont.
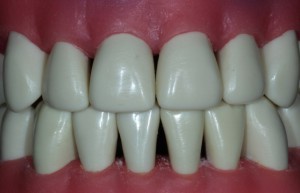
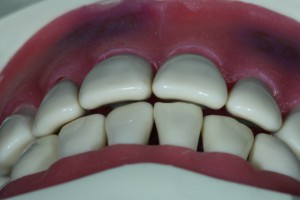
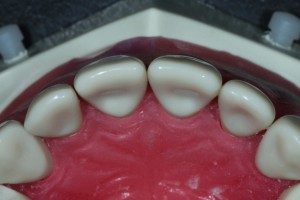
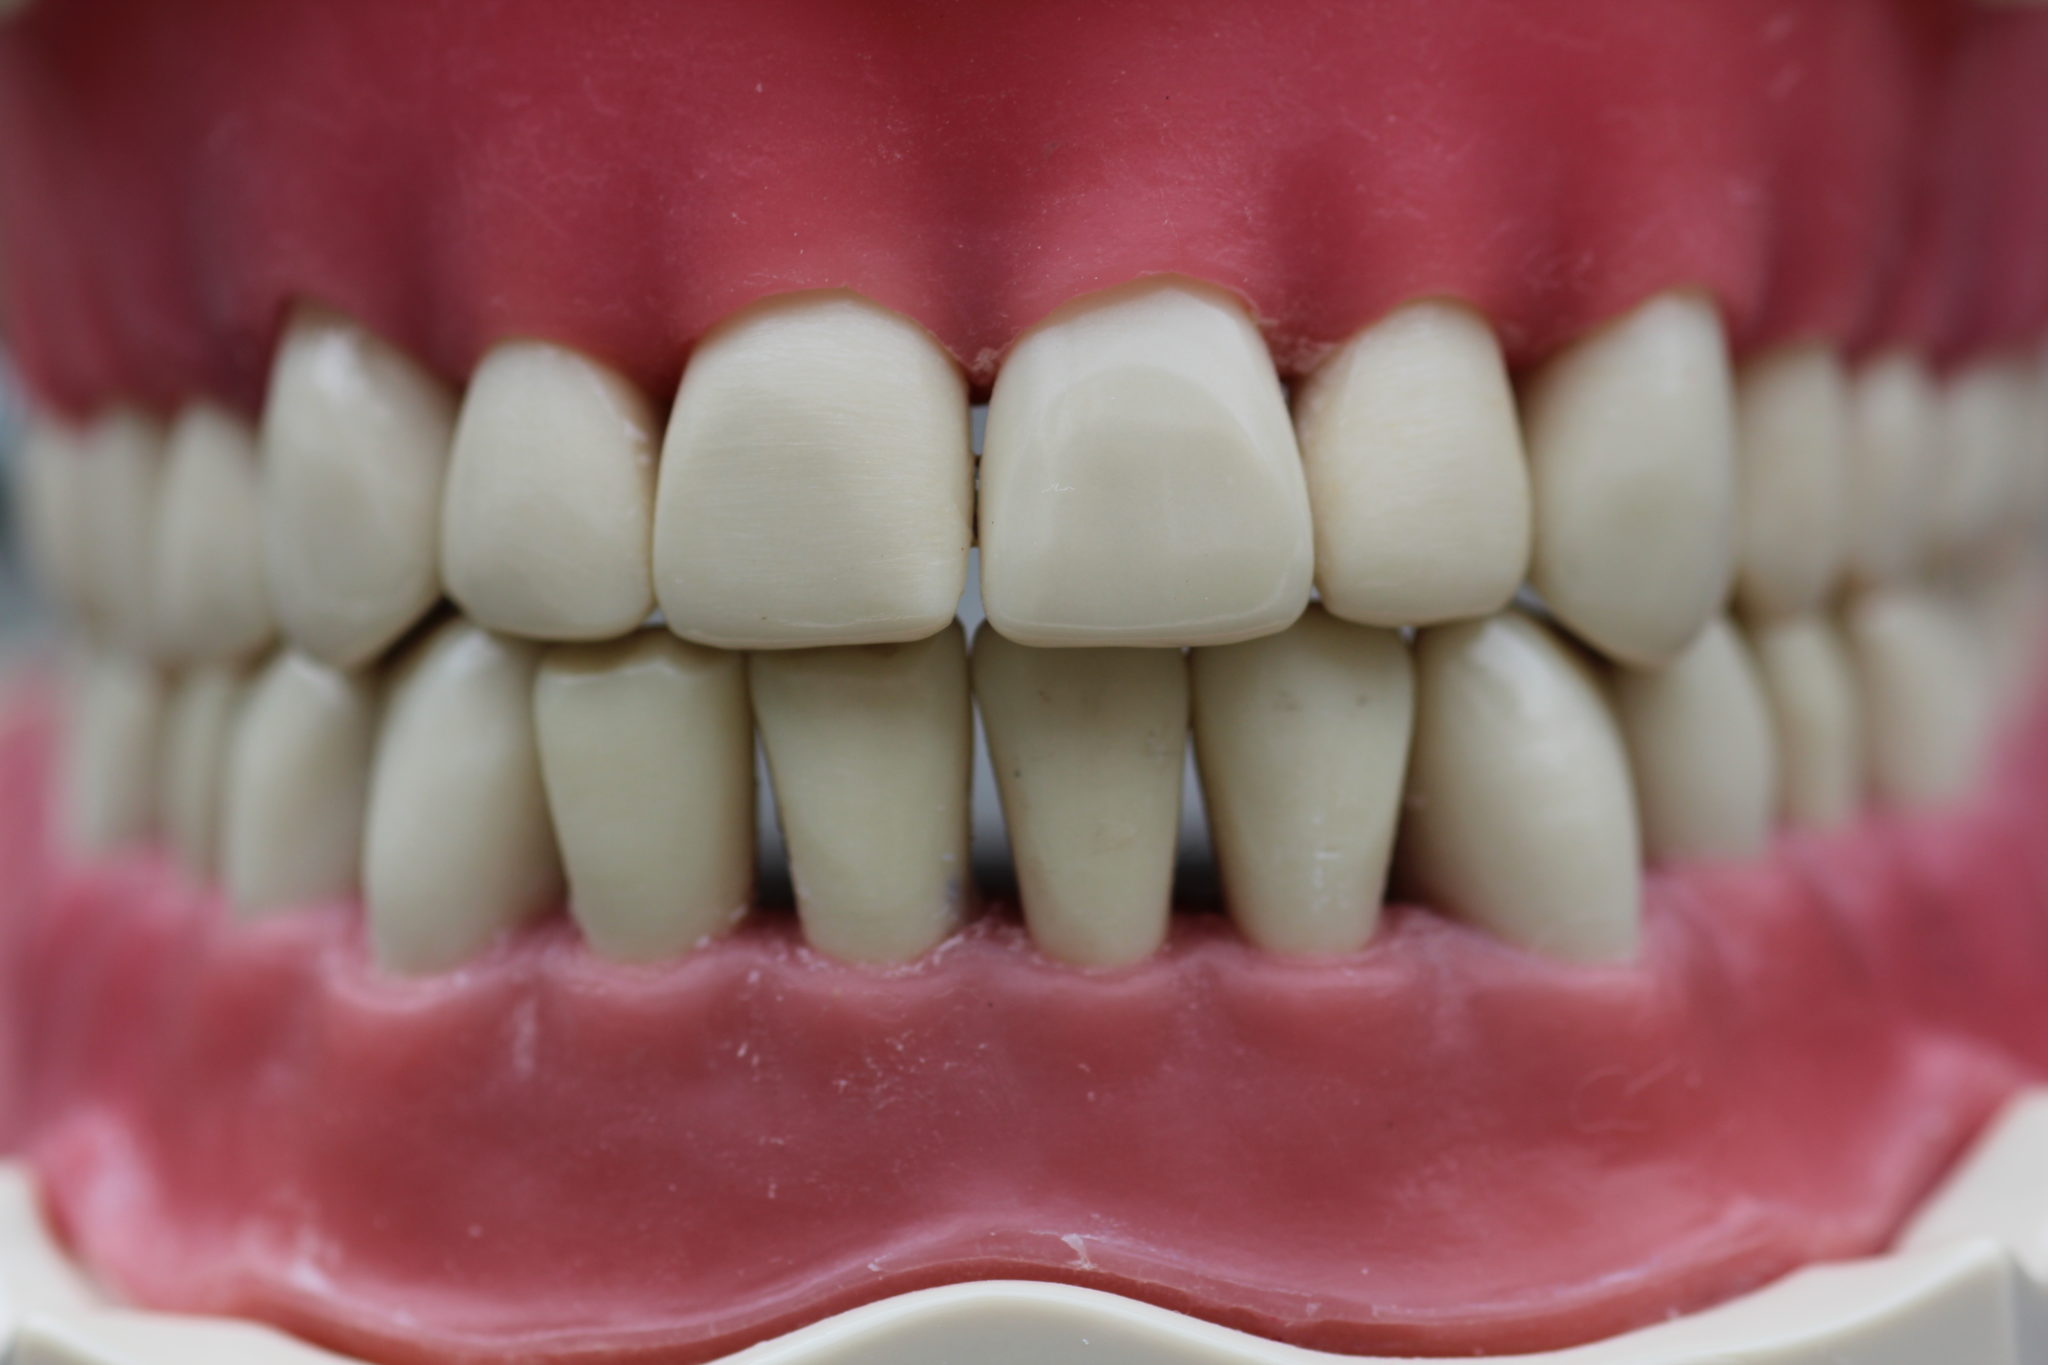
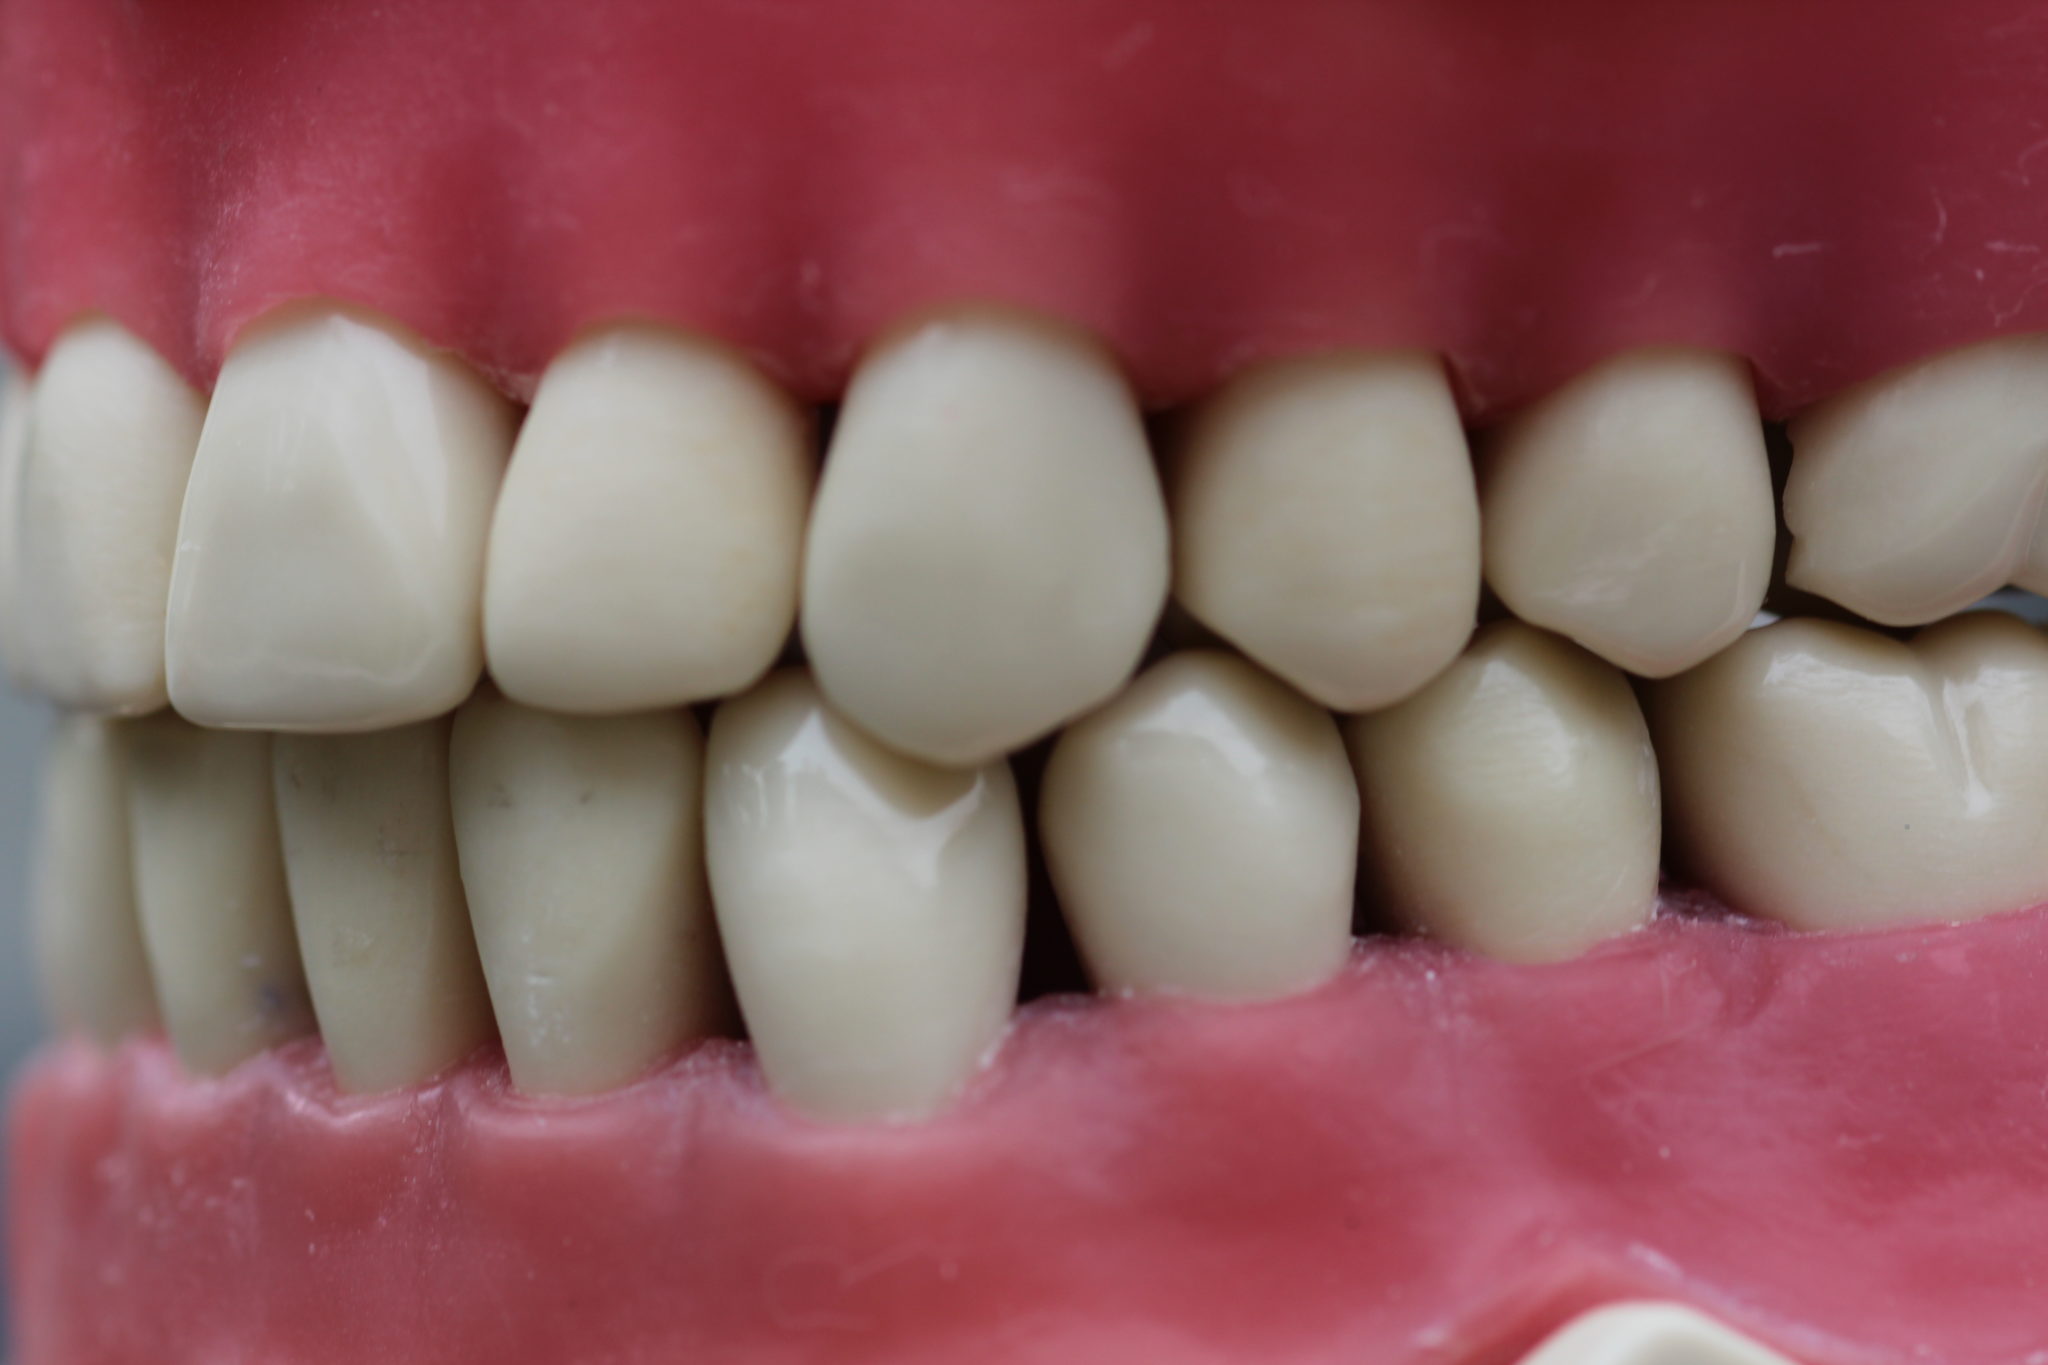

Before starting, take a look at the tooth you’ll be working on from several different angles. Take an especially close look at it’s lingual anatomy and relationship with the opposing lower incisor.
Remember that the finished crown should restore this natural anatomy, and our job is to give sufficient room for material while preserving as much tooth structure as possible.
Labial View
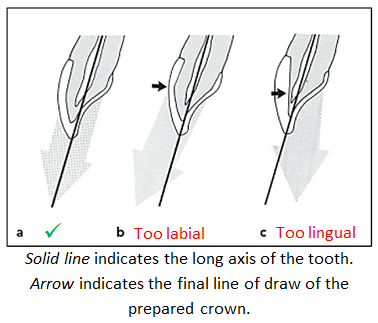
When viewing the preparation at the labial view, the proximal walls should be balanced with equal taper on both sides. You also have to be sure that the line of draw is still parallel to the long axis of the tooth. This is made by making sure that everything is balanced and not that the whole prep seems to be tilted on one side. Make sure that your bur should be parallel to the long axis of the tooth and let the taper of the bur do the tapering on the axial walls for you.
Insert Explainer Video
Mesio-Distal View
Insert Explainer Video
There are two important things to look at here: the incisal reduction and the two plane reduction on the labial surface.
Incisal Reduction: The incisal surface should have a 2.0mm reduction. The reduction should be flat and even all throughout the incisal edge and should be parallel to the occlusal plane.
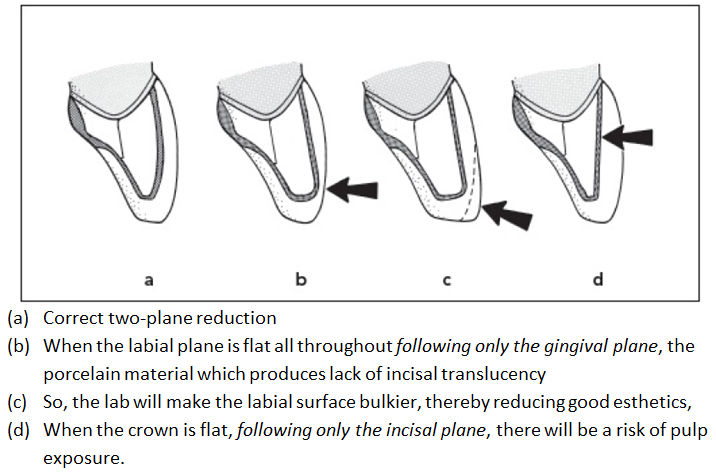
Two-plane Reduction: When you look at the incisors on the mesial or distal view, the labial surface has a curve. Since crown preparation needs to preserve the anatomy of the crown while creating space for the bulk of the material, our prep should also have this curve as well. To simplify things this curve can be divided into two parts: Gingival 2/3 and Incisal 1/3. While thinking that this curve has two parts, these are actually coherent to each other with a smooth transition in between. Otherwise, your prep will have an awful angle on the labial surface looking as if it is a beak of a bird (which we obviously do not want!). If you are not that very careful, this mistake is very common when you adopt the classical approach of labial reduction. Do not worry, we will teach you another technique that will prevent you from doing this mistake.
The gingival reduction of the labial surface is parallel to the long axis OR the general contour of the gingival portion of the labial surface. A mistake in the angulation of the bur will lead to undercuts and a skewed line of draw. So be careful!
There are numerous consequences when the two-plane reduction will not be followed:
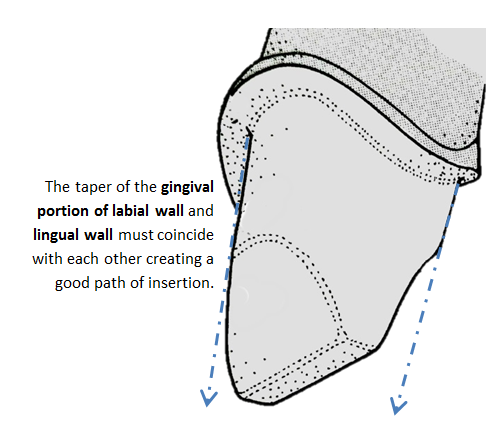
When checking for undercuts and adequate tapering of the walls, it is a good idea to check on these two areas: the gingival portion of the labial wall and the lingual wall. These two walls should coincide with each other, forming a convergence towards the incisal.
Lingual View
Insert Explainer Video
The objective here is to keep the lingual fossa concave and the cingulum preserved. Use either an egg or football shaped bur. A flame shaped bur could be used but with its sharp tip, it has a huge risk of gouging the cingulum.

There will be a chamfer margin here with an ideal reduction of 0.7mm.
Incisal View
Insert Explainer Video
There will be a definite shoulder margin on the labial and a chamfer margin on the lingual. The shoulder margin will be extended 1mm lingual to the contact points. There will be a gradual transition of margins at the proximal area.